Uno Cupertino
Important
UnoFeatures: Cupertino — add <UnoFeatures>Cupertino</UnoFeatures> to your app's .csproj to enable Uno Cupertino.
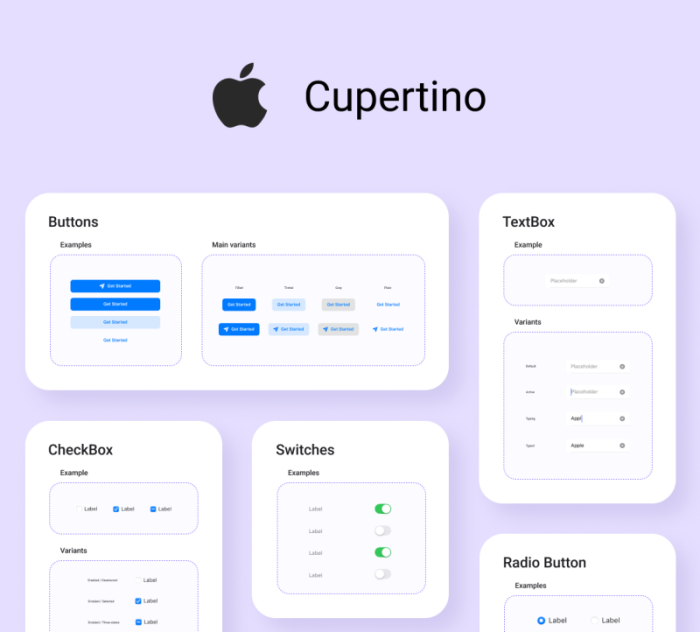
Uno Cupertino is enabled through the Cupertino UnoFeatures and lets you apply Cupertino - Human Interface Guideline styling to your application with a few lines of code.
Getting Started
Note
Make sure to setup your environment first by following our instructions.
Creating a new project with Uno Cupertino
Install the
dotnet newCLI templates with:dotnet new install Uno.TemplatesCreate a new application with:
dotnet new unoapp -o UnoCupertinoApp -theme cupertino
Installing Uno Cupertino in an existing project
Uno Platform 7.0 builds applications with the Uno.Sdk single project only. If your app still uses the older multi-head project structure, it fails to build with UNOB0029: migrate it first by following Migrating Projects to Single Project.
Edit your project file (
PROJECT_NAME.csproj) and addCupertinoto the list ofUnoFeatures:<UnoFeatures>Cupertino</UnoFeatures>Initialize the Cupertino resources in the
App.xaml:<Application.Resources> <ResourceDictionary> <ResourceDictionary.MergedDictionaries> <!-- Code ommitted of brevity --> <uc:CupertinoColors xmlns="using:Uno.Cupertino" /> <uc:CupertinoFonts xmlns="using:Uno.Cupertino" /> <uc:CupertinoResources xmlns="using:Uno.Cupertino" /> </ResourceDictionary.MergedDictionaries> </ResourceDictionary> </Application.Resources>
Customization
The following guides require the creation of new ResourceDictionary files in your application project. For more information on how to define styles and resources in a separate ResourceDictionary, refer to the resource management documentation.
Note
Seed color palette generation is available for the Material and Simple themes only — Cupertino colors are customized through the manual overrides below.
Customize Color Palette
Add a new Resource Dictionary named
CupertinoColorsOverride.xamlto the application project, for example, underStyles/Application.Replace the content with:
<ResourceDictionary xmlns="http://schemas.microsoft.com/winfx/2006/xaml/presentation"
                    xmlns:x="http://schemas.microsoft.com/winfx/2006/xaml">
    <ResourceDictionary.ThemeDictionaries>

        <!-- Light Theme -->
        <ResourceDictionary x:Key="Light">
            <!-- Override CupertinoBlueBrush -->
            <Color x:Key="CupertinoBlueBrush">#6750A4</Color>

            <!-- Add more overrides here -->
            <!-- ... -->
        </ResourceDictionary>

        <!-- Dark Theme -->
        <ResourceDictionary x:Key="Dark">
            <!-- Override CupertinoBlueBrush -->
            <Color x:Key="CupertinoBlueBrush">#D0BCFF</Color>

            <!-- Add more overrides here -->
            <!-- ... -->
        </ResourceDictionary>

    </ResourceDictionary.ThemeDictionaries>
</ResourceDictionary>
In
App.xaml, update<CupertinoColors />with the override from the previous steps:<CupertinoColors xmlns="using:Uno.Cupertino" OverrideSource="ms-appx:///Styles/Application/CupertinoColorsOverride.xaml" />
Change Default Font
By default, Uno Cupertino comes pre-packaged with the SF Pro FontFamily and automatically includes them in your application. Upon installation of the Uno Cupertino package, you will have a CupertinoFontFamily resource available. It is an alias of the shared DefaultFontFamily root token (see Design Tokens); Cupertino has no semantic type scale, so CupertinoFontFamily stays the key to override.
If you would like Uno Cupertino to use a different font, you can override the default FontFamily by following these steps:
Add the custom font following Custom Fonts documentation.
Add a new Resource Dictionary named
CupertinoFontsOverride.xamlto the application project, for example, underStyles/Application.Assuming the font file has been placed in a directory such as
Assets/Fonts/MyCustomFont.ttf, your override file would look like the following:<ResourceDictionary xmlns="http://schemas.microsoft.com/winfx/2006/xaml/presentation" xmlns:x="http://schemas.microsoft.com/winfx/2006/xaml"> <FontFamily x:Key="CupertinoFontFamily">ms-appx:///Assets/Fonts/MyCustomFont.ttf</FontFamily> </ResourceDictionary>In the
App.xaml, update<CupertinoFonts />with the override from the previous steps:<CupertinoFonts xmlns="using:Uno.Cupertino" OverrideSource="ms-appx:///Styles/Application/CupertinoFontsOverride.xaml" />